Thursday, May 20, 2010

Mini Double Decker Candy Bin Favors

This mini double decker candy bin favor will be a big hit among your guests! This double decker candy bin has two openings -- one on top and one on the bottom front side and it measures 3 3/4"L x 2 1/2"W x 3 3/4"H. It even comes with a really cute mini silver colored scoop!  You can make this great party favor yourself by ordering a do-it-yourself FAVOR KIT which includes the candy bin and a strip of ribbon that can be tied around the candy bin and into a bow on top.  The satin ribbon comes in many different shades of pink as well as black ribbon.

You can fill these fun candy bins with just about almost any kind of candy -- whether it be jelly beans, M&Ms, gum balls, mints, chocolates, etc.


Wednesday, May 19, 2010

Pink Ring Bearer Pillow - with Black Satin Bow

Here is a custom-made ring bearer pillow in a pretty pink satin fabric that is tied with a wide black satin bow.  Simple design, sophisticated look!  This pink and black ring bearer pillow measures 8"x8".

Monday, May 17, 2010

Creating photo album and uploading photo in orkut :

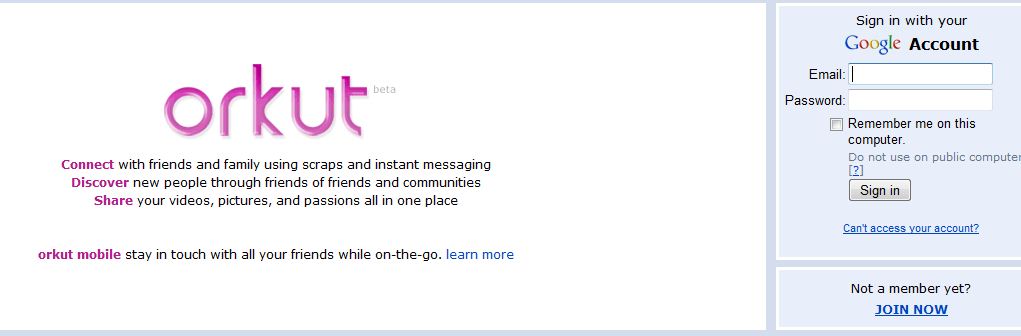
 1.Sign in to you orkut account here..

                www.orkut.com

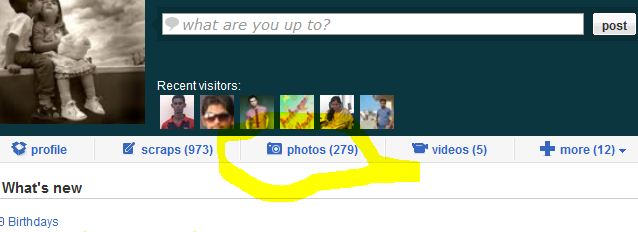
2. Then go to photos
     It looks like here
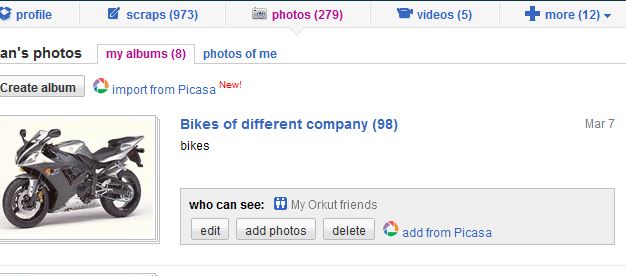
3.  click on photo and then it looks like


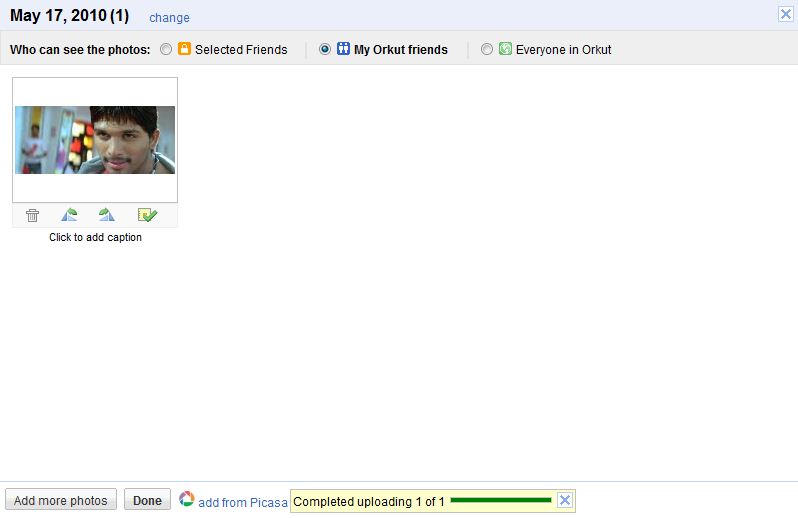
4.if you want to upload photo then upload photos to orkut ar create album


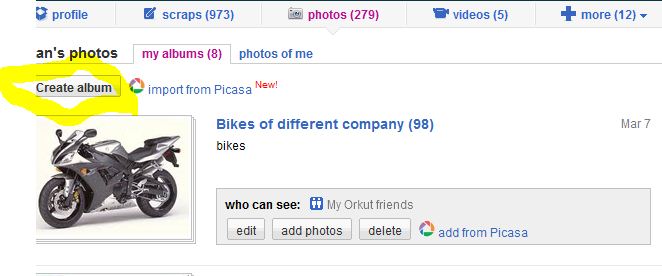
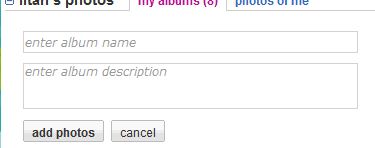
5.then click on create album  .then see here it looks  like this     

 
 6. name your album and then.....
     describe it if you want.
   
  7.click on done.


How to send a scrap to friends in orkut .....


1.different way are there where you can scrap to a friend.

You can paste the HTML code of scraps from scrap website.


2.don’t paste the html code directly to here.


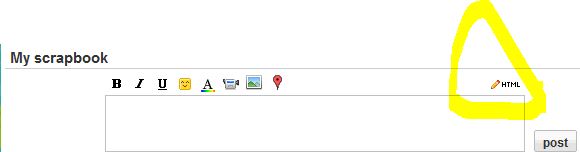
3.first find the html button of this square box as follow.


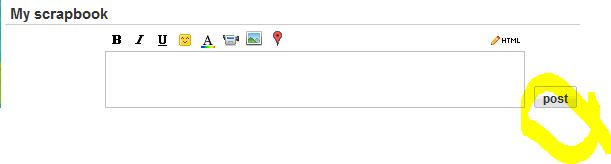
4. then paste your html code there and click to post.


5.type the charcters if it asks.....

  Then your scrap is posted...

6.if you want scrap by writeing something yourself you can do it by directly typing on the square box. No need to go to html button.

7 you can add smile icons and videos as scrap also.......

Earning from Wallpaper,photos,images at home


 Earning from Wallpaper,photos,images at home
 One can earn money from home without invest of any money in any website
First thing you have to create a Gmail account.
Then Create a wallpaper blog on
                                                      >;Blogger
                                                             or
                                                     >Wordpress
                                                           Or 

                                              other blog platform.
Then continue to post to your blog the images you have.
You have to wait for six month to have   a Adsense account from Google.
You have to be cautious for copy write images,wallpapers,photos & other materials.

By having a  Adsense account from Google. You can display google ads  and earn money when user clicks on it.
Usually google pays 0.01$  per clicks.
It may vary the amounts according to google.

Thursday, May 13, 2010

New Favorite

One of the best parts of our job is the process of going through the images after a shoot and finding the pictures we like best. Here's one from Alisha and Eric's recent nuptials. Alisha was such a beautiful bride and we love this picture.

Wednesday, May 12, 2010

The Process of Design: Part 2


Now for the fittings...In Part 1, I designed a gown for my Bride Tina Marie. Now we will move onto the next phase.
The first step is to take the approved Design and create patterns that will be used to fabricate the gown. All of the patterns not only correspond to the gown, but more specifically to Tina's measurements. In total, I usually take up to fifteen different measurements.
Next, I transfer the patterns onto a light weight cotton fabric called muslin. Here is where the physical dress takes shape. This preliminary dress is cut and sewn just as the final gown will be. It is at this stage that the first of the alterations will occur.


So now that the gown is on my Bride, I can truly see how it will fit her. I may also make alterations to the Design to flatter a particular area over another, or maybe collectively we decide to eliminate a part of the gown altogether. In any case, this is the stage where all of the necessary changes can occur.
Now that we have made all of the adjustments to the muslin, I then take it apart and transfer this new information onto the patterns. Once the patterns have been adjusted, we are ready for the next step...the creation of the actual gown from the inside out.